Knowing how to sterilize reptile substrate is essential to maintain a healthy and safe environment. A clean substrate can help increase our reptiles’ quality of life.
A substrate in your reptile’s habitat that is not sterilized or cleaned can harbor harmful bacteria, fungi, insects, parasites, and viruses that can risk your pet’s health. Sterilizing the newly purchased substrate and sterilizing the substrate when cleaning their tank or terrarium can help reduce the risk of a reptile developing illnesses or diseases.
In this article, we will provide a safe disinfectant guide on how to sterilize reptile substrate effectively using heat. This method purposely uses no bleach solution, vinegar, dish soap detergent, hydrogen peroxide, alcohols, chlorine, or chemical sterilization to prevent these from impacting the reptile.
Contents
What Reptiles & Substrates This Sterilization Guide Works For
This simple method works for almost all reptiles, including the popular bearded dragons, ball pythons, leopard geckos, and chameleons.
This method works for most reptile substrates in tanks, cages, and terrariums, including:
- Crushed Walnut Shells
- Forest Floor Bedding
- Coconut Coir
- Desert Sand
- Reptile Bark
- Gravel
- Organic Top Soil
Why is Heat the Best Method to Sterilize Reptile Substrate?

Although some products sold in pet stores advertise to help keep substrates clean, heat is the best method for sterilizing reptile substrates.
Exposing a substrate to high temperatures can kill off any harmful bacteria, fungi, parasites, or viruses that may be present.
Heat works by denaturing proteins that make it impossible for microorganisms to survive. Applying heat to the reptile substrate penetrates the substrate, denatures the proteins, and attacks all the microorganisms that may be present.
Maintaining a consistent temperature for a fixed period ensures the destruction of all harmful organisms. Using heat is the safest and most effective way to sterilize reptile substrate without introducing cleaners, bleach, or any other chemical into the foundation of your reptile tanks that may cause residual effects for your reptile.
Select a Method – Microwave or Oven?
Decide whether to use a microwave or an oven to sterilize the reptile substrate. Below are the time estimates, pros, and cons of using the microwave or oven method.
Using an Oven to Sterilize Reptile Substrate: Pros & Cons
Time: 60 – 75 minutes
Pros: With an oven, we can set the temperature and check the substrate regularly to know when it hits our desired temperature. Once there, we can schedule a timer to let it bake there to ensure we eliminate bacteria, parasites, and viruses.
Cons: Using an oven will take more time to sterilize the substrate. Since most of us don’t have another stove in our garage, we are limited to using the range in our house, which can be an issue with odors coming from damp substrates.
Using a Microwave to Sterilize Reptile Substrate: Pros & Cons
Time: 15 – 20 minutes
Pros: A microwave is much faster. Also, if your substrate is damp, an odor may be created when the substrate is heated. Many people use an old microwave or buy a cheap one to do this in their garage or outside if the substrate is damp.
Cons: A microwave is somewhat unpredictable when the substrate reaches the right temperature to kill harmful bacteria, parasites, and viruses. Also, it is harder to maintain this temperature for a duration of time to ensure we eliminate bacteria, viruses, and parasites.
How to Sterilize Reptile Substrate Using an Oven

Step 1: Gather Supplies & Equipment
- The substrate
- The oven
- A baking pan
- Aluminum foil
- Meat or laser thermometer
- A large metal or wood spoon
- Gloves or oven mitts
Step 2: Prepare the Substrate
Remove moldy chunks of substrate, debris, or feces if sterilizing old substrate. Spread the substrate evenly in the baking pan and break up any dense clumps.
Overcrowding the pan or compacting down the substrate can result in uneven heating and will increase the time needed to complete this process. It would be best if you considered doing batches to ensure even heating.
Step 3: Cover the Pan
Cover the pan of the substrate with aluminum foil, tightly wrapping it around the pan to prevent steam from escaping.
Step 4: Preheat the Oven
Preheat your oven to 180-200°F (82-93°C). This temperature range is high enough to kill harmful bacteria but low enough to avoid damaging the substrate.
Step 5: Place the Pan in the Oven
Place the covered pan of the substrate in the middle of the preheated oven to ensure even heating.
Step 6: Heat the Substrate
Allow the substrate to heat in the oven for at least 30 minutes. Every 5-10 minutes, stir the substrate. Then use a meat or laser thermometer to monitor the temperature of the substrate. Monitor the temperature throughout the heating process to ensure it reaches the 180-200°F (82-93°C) range.
Step 7: Hold at Temperature
We then need to hold the substrate at 180-200°F (82-93°C) for 30 minutes. Continue stirring to ensure an even temperature.
Optional Step for a Baby Reptile
When sterilizing substrate for a baby reptile, consider increasing the temperature to 212°F (100°C) and wait for the substrate to reach this temp. Getting to this temp will help ensure we remove harmful bacteria, parasites, and viruses for baby reptiles with weaker immune systems.
Step 8: Allow the Substrate to Cool
After 30 minutes of holding at temperature, turn off the oven and allow the substrate to cool. Leave the container in the oven with the door open to speed up the cooling process.
Step 9: Use the Sterilized Substrate
Once the substrate has cooled, it’s ready to use. You can now add it to your reptile’s enclosure.
How to Sterilize Reptile Substrate Using a Microwave

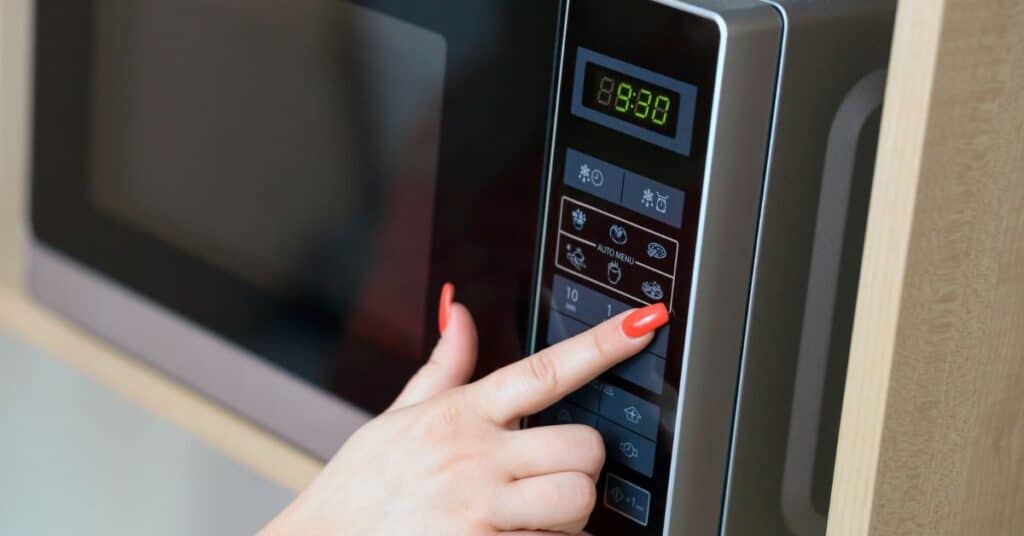
Microwaving reptile substrate is not the best option, but it does take about 25% of the time the oven method takes. However, this method will likely create more pungent odor fumes.
Here’s a step-by-step guide to sterilizing reptile substrate in a microwave.
Step 1: Gather Supplies & Equipment
- The substrate
- The microwave
- A tub
- A microwave-safe container
- A lid or paper towel to cover the container
- Meat or laser thermometer
- A large metal or wood spoon
- Rubber gloves
- Oven mitts
Step 2: Wet the Substrate
Wearing rubber gloves, get all of the substrate into a rubber tub. Begin to wet the substrate with water using a spray bottle while mixing with your hand. Do this until the substrate is damp but not soaking wet. This will help distribute the heat evenly.
Step 3: Add the substrate to the container
Add the damp substrate to the container and place the lid on top. Steam must escape, so do not seal the container.
Too much substrate in the container may also increase the time it takes to reach optimal temperatures. You may need to do this in batches, as a microwave container can only hold so much.
Step 4: Microwave the substrate
Microwave the substrate on high for 5-10 minutes, depending on the container’s size and the substrate’s amount. Stop the microwave every minute to stir the substrate and distribute the heat evenly.
Step 5: Check the temperature
After microwaving the substrate, use a thermometer to check the temperature. The substrate should be at least 180°F (82°C) throughout the container. If the temperature is lower, microwave the substrate for another minute and check again.
For baby reptiles, increase the temperature to 212°F (100°C).
Step 6: Allow the substrate to cool
Once the substrate reaches the desired temperature, you will want to remove it from the microwave and allow it to cool completely before using it in your reptile’s enclosure.
Note: Be careful when handling the substrate and the container, as they will be very hot after microwaving. Use oven mitts or other protective material to avoid burns.
When Should Reptile Substrate Be Sterilized?
A good rule of thumb is to sterilize a reptile substrate when purchasing new substrate, as you will never know what may be in the substrate from the manufacturer. Then, re-sanitize the substrate when you clean their cage, ideally at least once a month.
The frequency of sterilizing reptile substrate depends on the reptile type, the enclosure size, and the type of substrate. Sterilizing the substrate monthly or bi-monthly can help maintain a clean cage for the reptile to prevent disease or illness.
Very young or old reptiles are more prone to illness or have weakened immune systems, so they may need this done more often. For example, suppose you have a baby bearded dragon in a small enclosure with sand substrate. In that case, you may need to sterilize the substrate once a month to prevent the buildup of harmful bacteria that may cause the bearded dragon to develop health issues such as eye problems, tail injuries, or respiratory issues.
Larger enclosures with multiple reptiles may also need to have the substrate sterilized more often.
How Often Should You Replace Reptile Substrate?
Loose substrates, such as sand or coconut coir, should be replaced every 3-6 months to prevent the buildup of harmful bacteria and parasites. Non-porous substrates, such as gravel, can last much longer with proper cleaning and maintenance.
Spot cleaning done regularly is needed regardless of substrate type to prolong the life of the substrate. If your reptile has health issues or a strong odor comes from the substrate, begin to replace the substrate more frequently.